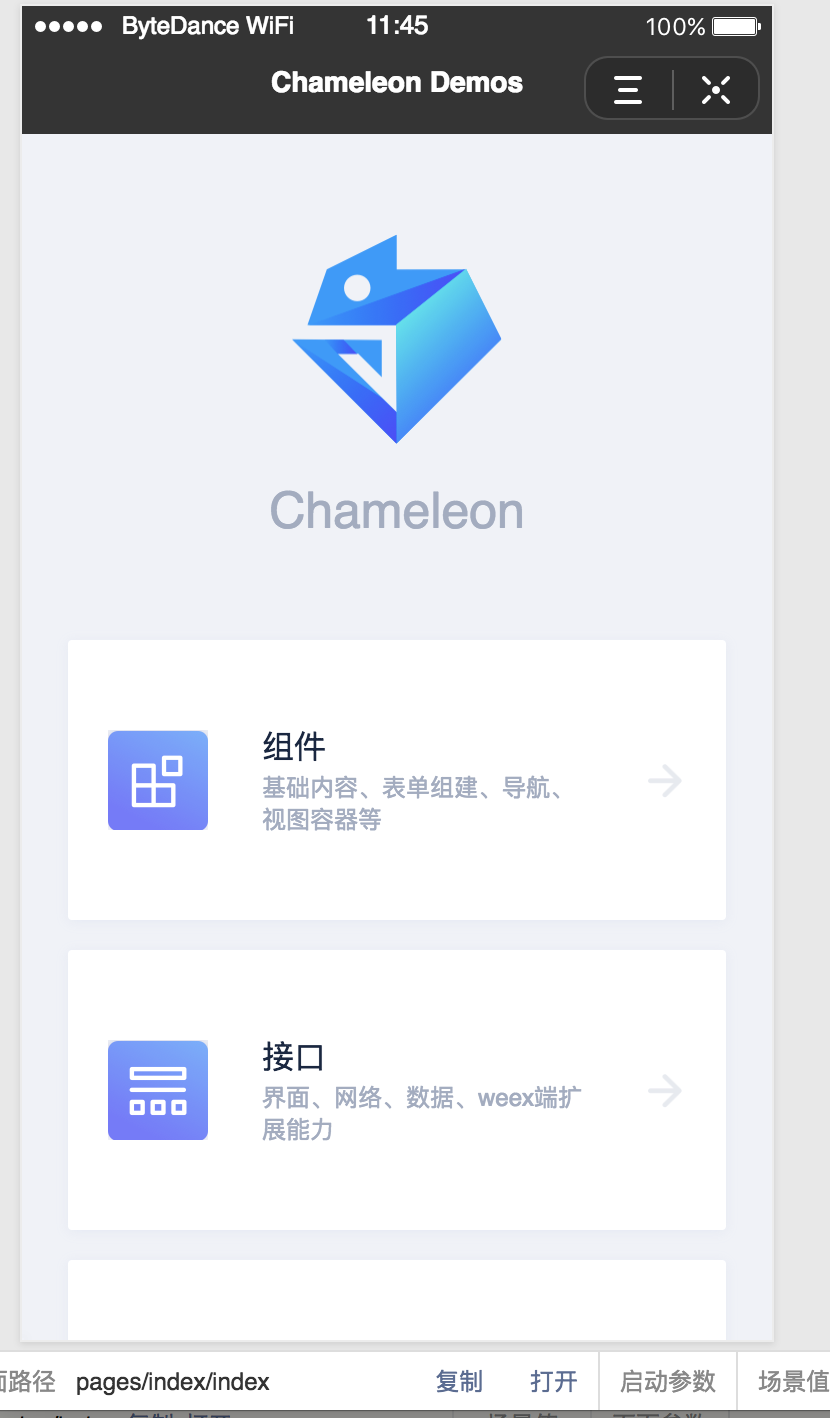
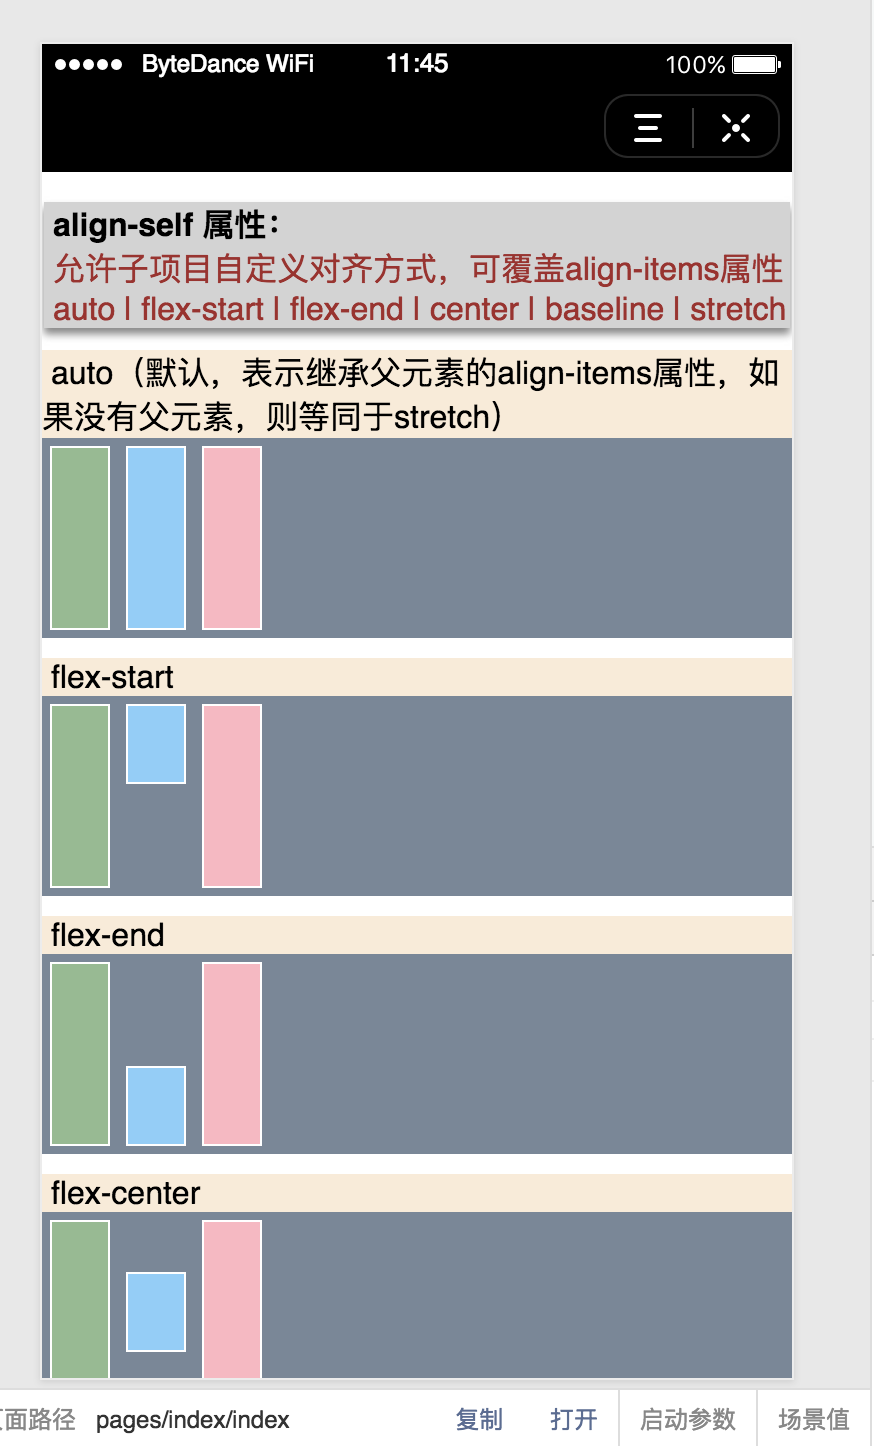
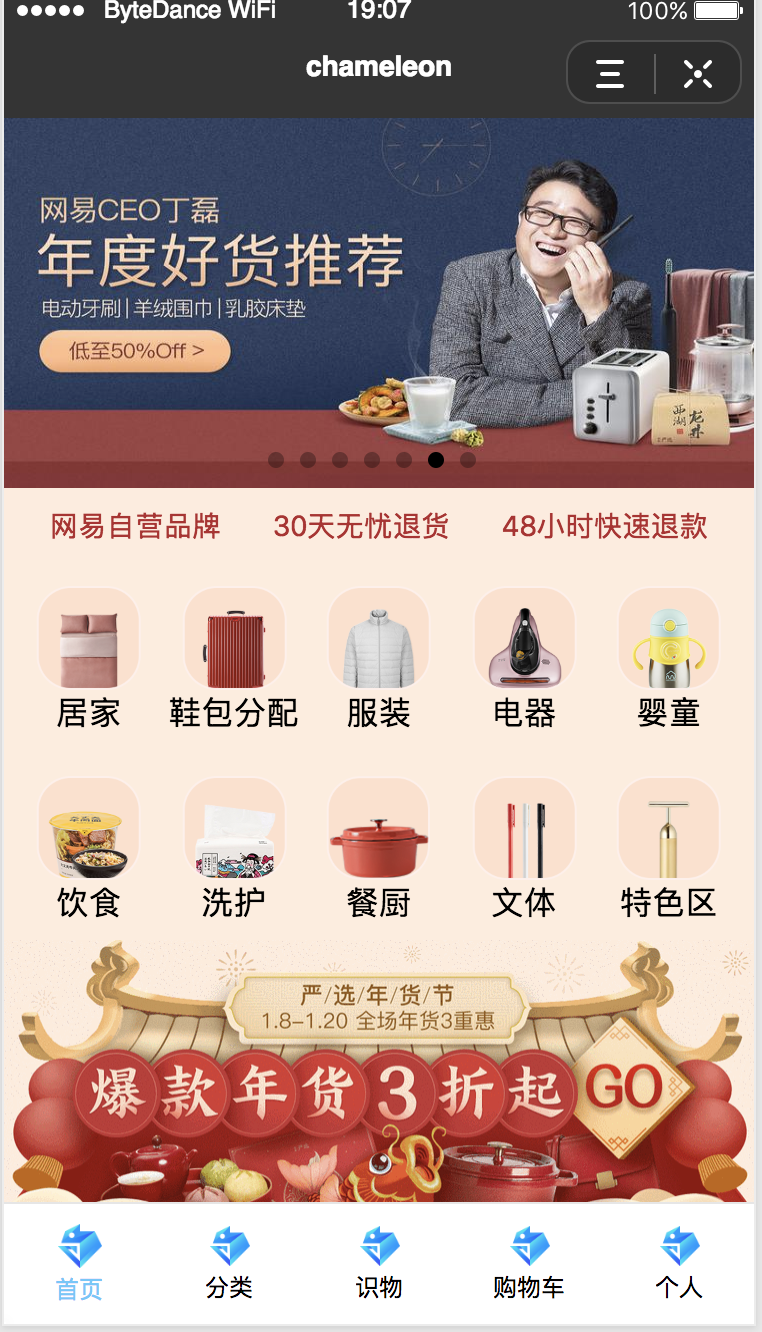
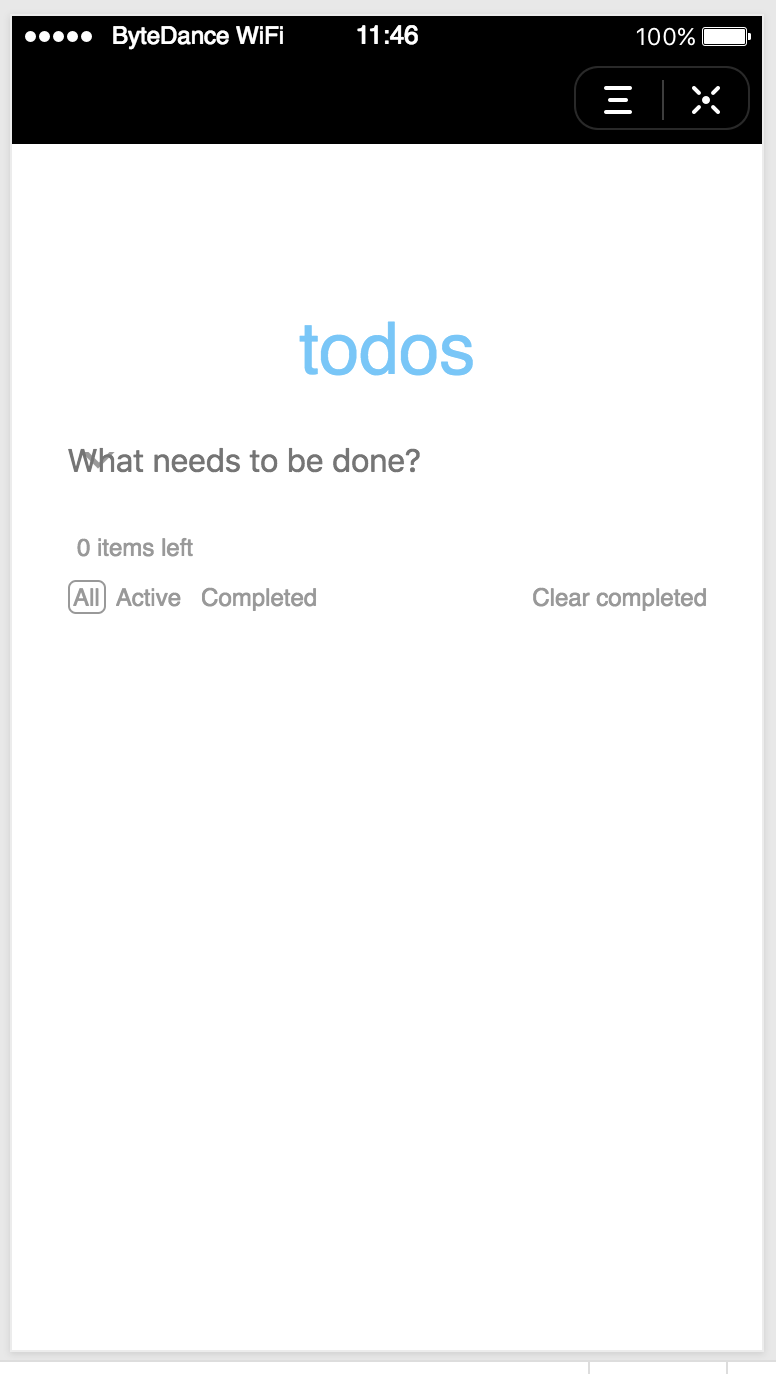
字节跳动小程序体验
支持的 chameleon-tool 版本
npm i chameleon-tool@1.0.3 -g
体验仓库
cml-demo cml-flexbox cml-yanxuan cml-todomvc
clone 下来以上仓库之后, 分支,执行 cml tt dev,在开发者工具中即可预览效果
效果图如下


字节跳动小程序接入步骤
根据以下步骤配置之后,既有 CML 的项目可以直接在头条小程序运行。
0、升级最新的 chameleon 包
1、安装头条小程序端所依赖的库
2、将原本引用依赖的 chameleon 内置库 改成头条小程序的库,头条的库会依赖原本的chameleon 内置库,所以依然可以运行原本的各种小程序、 web 端、weex 端。
1. 安装头条扩展需要的仓库
检查原有依赖的版本
"chameleon-api": "1.0.0",
"chameleon-runtime": "1.0.0",
"chameleon-store": "1.0.0",
"chameleon-ui-builtin": "1.0.0",
"cml-ui": "1.0.0"
新增头条小程序相关仓库
"cml-tt-api": "0.2.3",
"cml-tt-plugin": "0.2.3",
"cml-tt-runtime": "0.2.3",
"cml-tt-store": "0.2.3",
"cml-tt-ui": "0.2.3",
"cml-tt-ui-builtin": "0.2.3",
2 修改 chameleon.config.js 配置文件
2.1 引入 path模块
const path = require("path");
2.2 增加 builtinNpmName 、 extPlatform 和 babelPath 配置
builtinNpmName: 'cml-tt-ui-builtin',
extPlatform: {
  tt: 'cml-tt-plugin',
},
babelPath: [
  path.join(__dirname,'node_modules/cml-tt-ui-builtin'),
  path.join(__dirname,'node_modules/cml-tt-runtime'),
  path.join(__dirname,'node_modules/cml-tt-api'),
  path.join(__dirname,'node_modules/cml-tt-ui'),
  path.join(__dirname,'node_modules/cml-tt-store'),
  path.join(__dirname,'node_modules/cml-tt-mixins'),
  path.join(__dirname,'node_modules/mobx'),
],
以上配置解释
builtinNpmName 字段是你定义的内置 npm 包名称 extPlatform 是配置扩展新端的编译插件,key 值为端标识,value 为编译插件 npm 包名称。 babelPath 配置的是哪些 npm 包要过 babel 处理
具体解释参考
扩展头条的核心实现具体可以参考 的 dev 分支
2.3 如果要引入基础样式,需要增加 tt:true的配置,默认导入基础样式
baseStyle:{
  wx: true,
  web: true,
  weex: true,
  alipay: true,
  baidu: true,
  qq: true,
  tt:true,
},
3 修改项目中代码
3.1 修改项目中引入 chameleon-store chameleon-api cml-ui 的地方
store 和 api 的引用:
chameleon-store 改为 cml-tt-store
chameleon-api改为cml-tt-api
import cml from "chameleon-api";
import store from "chameleon-store";
改为
import cml from "cml-tt-api";
import store from "cml-tt-stroe";
组件的引用: cml-ui 改为 cml-tt-ui
<script cml-type="json">
  {
      "base": {
          "usingComponents": {
              "c-actionsheet": "cml-ui/components/c-actionsheet/c-actionsheet"
          },
      }
  }
</script>
改为
<script cml-type="json">
  {
      "base": {
          "usingComponents": {
              "c-actionsheet": "cml-tt-ui/components/c-actionsheet/c-actionsheet"
          },
      }
  }
</script>
3.2 项目中任意多态组件都要增加字节跳动这一端组件
如果原来某个多态组件 poly-comp
poly-comp.interface
poly-comp.web.cml
poly-comp.weex.cml
poly-comp.wx.cml
poly-comp.alipay.cml
poly-comp.baidu.cml
接入头条小程序的话,则需要在加一个 poly-comp.tt.cml
3.3 项目中任意多态接口要增加字节跳动这一端接口
如果原来一个多态接口 poly-api.interfacce
<script cml-type="interface">
  type res = [String];
  interface UnsupportedInterface {
    getUnsupportApis(): res;
  }
</script>

<script cml-type="web">
  class Method implements UnsupportedInterface {
    getUnsupportApis() {
      return [];
    }
  }

  export default new Method();
</script>

<script cml-type="weex">
  class Method implements UnsupportedInterface {
    getUnsupportApis() {
      return ["设置页面标题", "WebSocket", "地理位置"];
    }
  }

  export default new Method();
</script>

<script cml-type="wx">
  class Method implements UnsupportedInterface {
    getUnsupportApis() {
      return [];
    }
  }

  export default new Method();
</script>

<script cml-type="alipay">
  class Method implements UnsupportedInterface {
    getUnsupportApis() {
      return ["启动参数", "beatles-bridge能力"];
    }
  }

  export default new Method();
</script>
<script cml-type="baidu">
  class Method implements UnsupportedInterface {
    getUnsupportApis() {
      return ["beatles-bridge能力"];
    }
  }

  export default new Method();
</script>

<script cml-type="qq">
  class Method implements UnsupportedInterface {
    getUnsupportApis() {
      return [];
    }
  }

  export default new Method();
</script>
那么需要增加
<script cml-type="tt">
  class Method implements UnsupportedInterface {
    getUnsupportApis() {
      return [];
    }
  }

  export default new Method();
</script>
4 字节跳动小程序命令
字节跳动小程序支持的命令有
cml tt dev

cml tt build
当你完成了以上的步骤之后,就可以在你的项目中执行 cml tt dev 进行字节跳动小程序的开发了。
一个cml-demo仓库的 diff在这里,可供大家参考。
